
Star Trek Online Temporal Probe Locations: Full Guide
Find Star Trek Online temporal probe locations across story missions, check alternate spawns, and collect the data needed for Temporal Recruit rewards.
Jump to
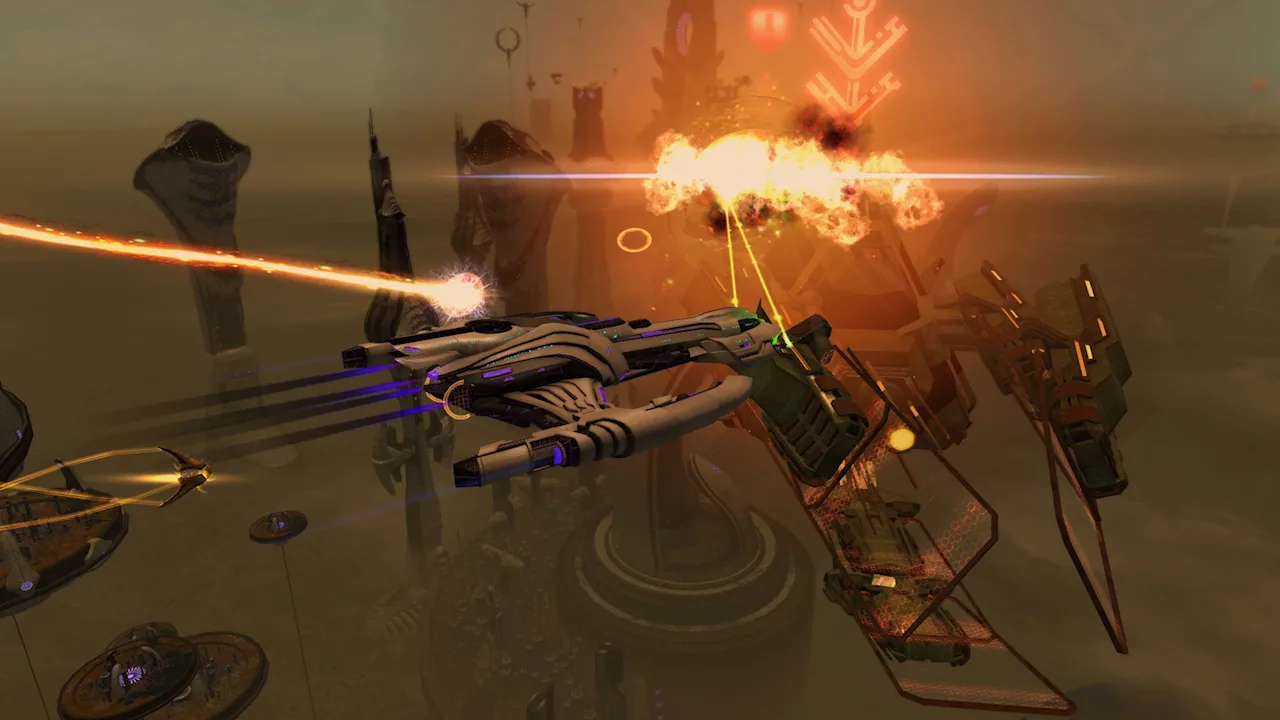
How to Find and Collect Temporal Probes
Finding Star Trek Online temporal probe locations takes more than following the main objective marker: several missions have alternate spawn points. These collectibles advance your Temporal Recruit goals and award Reputation Marks. Check the relevant map before beaming out, especially when a probe appears after the final fight.
There are 22 probes that count toward Temporal Recruitment goals. Additional probes in side content, including Wasteland, do not count toward that total.
You need a qualifying TOS Starfleet Temporal Recruit and the Temporal Transponder, obtained after completing the character’s first story arc. An existing Temporal Recruit can continue completing objectives after the recruitment event ends.
Recognizing and targeting a probe
Look for a red-orange tear in space, including on ground maps. When you enter a map containing a probe, an additional objective generally appears in your mission tracker.
On PC, this chat command can target a nearby probe when it is within 50 meters of your Captain:
/target temporal probe
Use it while searching the immediate area. For space probes, check the map as well as the view ahead of your ship.
The locations below include alternate spawn points. You are searching for one probe per listed mission, not collecting every alternate placement. Mission names are more useful than episode numbers because the story lineup has changed over time.
Official page: Star Trek Online (playstartrekonline.com)
Klingon War Probe Locations
Check the beam-in area before advancing through ground objectives. In “The Doomsday Device,” all three search spots are on the planet with the landed Bird-of-Prey.
 Image: www.playstartrekonline.com
| Mission | Map or area | Search locations | Search tip |
|---|---|---|---|
| Diplomatic Orders | P’Jem surface | Behind the Klingons on the hill near your arrival point; between the two buildings behind the final Klingon group; directly behind your beam-in position | Turn around immediately after arriving, then check the hill and the buildings before leaving. |
| Researcher Rescue | Space | Beside the Gorn ship before beaming down to rescue the second researcher group; near the planet before the first beam-down | Check the space map before each ground transition. |
| Secret Orders | Ground interior | After rescuing the two scientists and detonating the door, either to the right or down the ramp to the left; alternatively, beside a missile in the room containing four weapons you must destroy | Search both branches beyond the blasted door and inspect the weapons room. |
| The Doomsday Device | Planet surface with the landed Bird-of-Prey | Beside a tower between sites A and B, close to B; beside the resource node or south tower at site A; at the base of a giant mushroom left of the landing-pad path toward Site Beta | Inspect the mushroom from the Site Beta side—the distortion can be hidden when approaching from the landing pad. |
Before leaving these maps:
- Check behind the P’Jem arrival point.
- Inspect space before beaming down in “Researcher Rescue.”
- Search around the giant mushroom from both directions in “The Doomsday Device.”
Yesterday’s War: Temporal Ambassador
In “Temporal Ambassador,” search the Tholian dock control room for the probe.

This episode occupies an unusual place in the collection order: it is listed as probe #5 because of its earlier position in the story, even though it comes last in the chronological Temporal Recruit storyline.
Keep its entry on your checklist when moving between arcs. Its numbering does not mean you missed a nearby probe in the surrounding missions.
Romulan Mystery Probe Locations
This arc includes several probes that require attention to mission timing. “Frozen” has a placement that appears after completing the main quest, while “Cutting the Cord” sends you to the final space battlefield.

| Mission or area | Map or area | Search locations | Search tip |
|---|---|---|---|
| Diplomatic gathering and weapons armory | Behind-the-scenes ground area | Immediately after entering the behind-the-scenes map; inside the armory where the objective involves destroying weapons crates | Check the entrance before advancing to the armory. |
| Desperate Measures | Space station interior | To the left as you head toward engineering | Search that side of the route while moving toward engineering. |
| Shadow Play | Final space map | In the final battle area, after combat | Search before leaving the last space map. |
| Taris | First space map | Along the mission route, slightly above it | When your science officer mentions the probe, look around and above your current route. |
| The Vault | Vault interior | In the warbird chamber, along the bottom of the north wall; alternatively, in the first chamber | Watch the minimap after your officer’s proximity message. |
| Mine Enemy | Mine and platform areas | In the second room inside the mine; in the room left of the analysts; in the brig on the platform | Check the side room and brig if the second mine room is empty. |
| Frozen | Reman base | In the ring-shaped hall around the obelisks after completing the main quest; alternatively, in a side passage near the base entrance where you fight the alien bears | Revisit the obelisk hall after the main objective is complete. |
| Coliseum | Outside the arena | North of the coliseum, just beyond the gates that open after the final arena fight | Search immediately beyond the newly opened gates. |
| Cutting the Cord | Final space map | Near the destroyed gateway after the final battle | Look for the gateway in space, rather than the destroyed gateways on the ground. |
Finding the hidden probe in The Vault
The probe in the warbird chamber can be difficult to see against the wall. Check for a gray dot on the map, then approach the north wall near its bottom edge.
If that chamber does not contain your probe, inspect the first chamber. Use your officer’s nearby-probe message to narrow the search.
Tracking the halfway milestone
The halfway point is 11 of 22 probes. Following story order while initially skipping “Temporal Ambassador” puts that milestone at “Frozen.”
Use the Transponder’s completed objectives to track your progress if you play missions in a different order.
Cardassian Struggle Probe Locations
“The New Link” has an extra interaction that matters for credit: watching the probe’s recording does not finish the collection step.
| Mission | Map or area | Search locations | Search tip |
|---|---|---|---|
| Spoils of War | Ground interior | Inside the office containing Gul Kardek | Inspect the office before moving on. |
| Jabberwocky | Opening space map | In front of Bajor at the start of the mission | Search the opening area before advancing. |
| The Factory | Ground map | Near the start; near the Vorta tied to a mission objective; near the objective where you defend the Vorta from attacking Jem’Hadar | Check the arrival area and both Vorta objective locations. |
| The New Link | Ground route toward the Great Link | A short distance along the main path from beam-in; alternatively, on the last cliff to the left before the Great Link’s lake, after defeating Lamat’Ukan | If the probe plays a recording, interact again afterward to download its data and wipe it. |
Getting credit in The New Link
When the probe offers a recording:
- Interact with the probe and view the recording.
- Interact with the probe again afterward.
- Select the option to download the data and wipe the probe.
- Check the corresponding recruitment objective before leaving.
That second interaction is easy to miss when the recording ends close to another mission objective.
Borg Advance Probe Locations
The probes in this arc span prisoner areas, a boss room, and multiple objective locations in fluidic space.
| Mission | Map or area | Search locations | Search tip |
|---|---|---|---|
| Where Angels Fear to Tread | Romulan vessel interior | Near the prisoners | Search around the prisoner area before continuing. |
| A Gathering Darkness | Final space map | Along the route to the objective | Watch for the probe while approaching the final objective. |
| Assimilation | Borg ship interior | In the last room containing the boss | Inspect the room before exiting the ship. |
| Fluid Dynamics | Fluidic space | Near the first, second, or third objective | Check each objective area until you locate the probe. |
For “Fluid Dynamics,” keep searching through the objective sequence if the first location is empty. The probe can occupy any of the three listed areas.
Before ending the arc, check that you have collected the probe near the prisoners, searched the final room in “Assimilation,” and inspected the relevant fluidic-space objectives.
Probe Puzzles, Rewards, and Missing Credit
Scanning a probe leads to one of three puzzle types:
- Sudoku variant: Complete the puzzle presented by the probe.
- Pico, fermi, bagel variant: Find three words among the partially completed words.
- Mastermind variant: Solve the sequence using numbers 1 through 5.
After solving a puzzle, the interaction can produce an enemy encounter or an item reward. Ground encounters summon a Na’kuhl Commander; space encounters summon a Daemosh Destroyer. Other results include random R&D components or random Rare or Very Rare equipment.
Collection rewards
Each collected recruitment probe awards 25 Reputation Marks of your choice. The collection milestones also include a trait that reduces the cooldown of your profession-specific Fleet ability by 33% at halfway, followed by its advanced version for collecting every required probe.
Keep episode completion rewards separate from probe progress. Finishing a story arc and collecting its probes are distinct Temporal Recruit goals.
What to check when a probe seems missing
Work through these checks before abandoning the search:
- Check your character and Transponder. Use a qualifying Temporal Recruit with the recruitment introduction completed.
- Check the mission stage. Some probes appear on the final map or after a major fight.
- Search alternate placements. An empty listed spot does not mean the mission has no probe.
- Check elevation and visibility. Look above the route in “Taris” and use the map inside “The Vault.”
- Finish the interaction. After a recording, download the data and wipe the probe.
- Check the objective before transitioning. Stay on the relevant map until the collection step is complete.
Continue with
 Star Trek Online Walkthrough: From Tutorial to EndgameUse this Star Trek Online walkthrough to finish the tutorial, find story missions, equip your ship, train bridge officers, and begin endgame progression.
More in Quests
Star Trek Online Beyond the Nexus Mission Walkthrough
Complete Star Trek Online Beyond the Nexus mission with a step-by-step walkthrough covering ship battles, security puzzles, rewards, and both accolades.
Star Trek Online Endeavor Harvest Materials Space: Guide
Star Trek Online endeavor harvest materials space guide: find patrol nodes, plan a six-node route, and collect materials while avoiding unnecessary combat.

Star Trek Online Fastest Patrol: Quick Runs and Rewards
Find your Star Trek Online fastest patrol routine with Wanted at Argala, direct-launch steps, daily rewards, and tips for efficient solo ship mastery runs.
Star Trek Online Learning the Lore of the Empire Walkthrough
Star Trek Online Learning the Lore of the Empire walkthrough: find Ch'toh, locate the quiz console, answer the history question, and collect daily rewards.
Join the community
Official channels for news, updates and player help: