
Star Trek Online Builds: Choose Your Ship Playstyle
Find Star Trek Online builds for beams, torpedoes, exotic damage, tanks, and carriers. Match your ship, bridge officers, and gear to a focused playstyle.
Jump to
Energy Weapon Builds: Pick Your Main Firing Mode
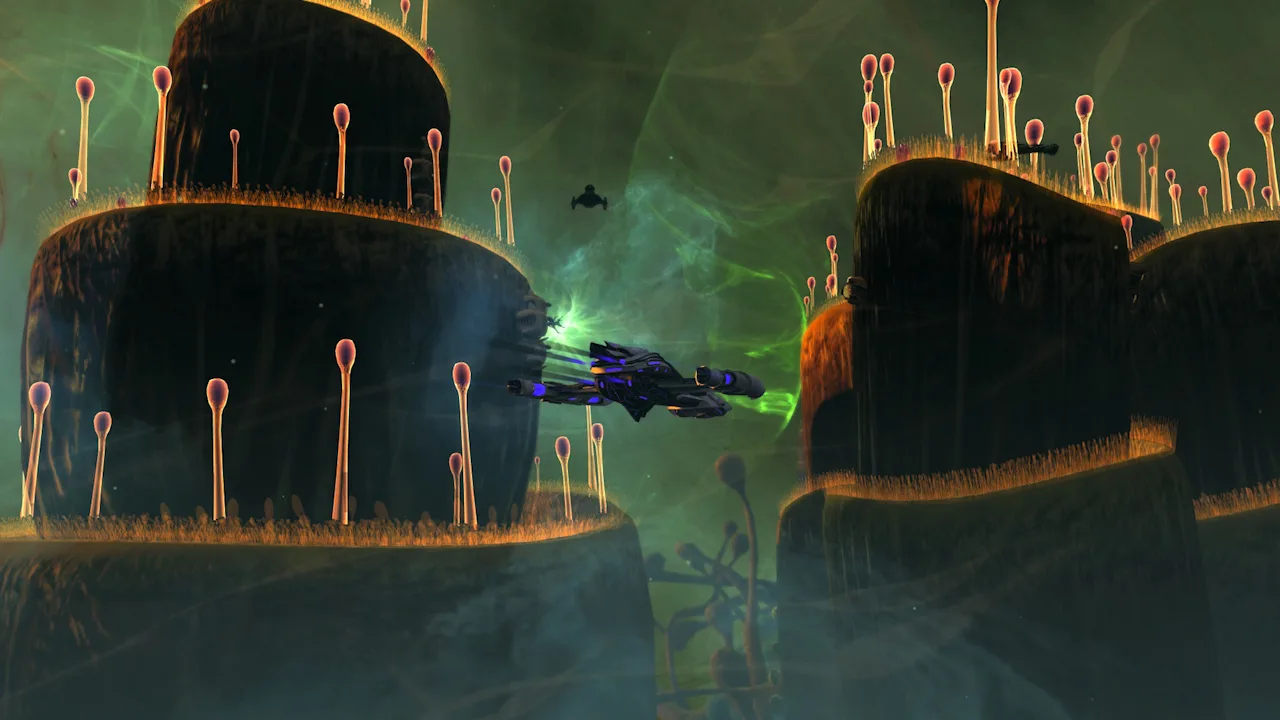
Star Trek Online builds become easier to plan when you give your ship one clear combat role. Weapons, consoles, traits, and bridge officer abilities compete for limited space, so scattered bonuses can leave your main damage source underserved. Start by choosing how you want to fight, then fit the ship around that choice.
Energy weapon builds, often called DEW builds, center on beam or cannon damage. Their identity comes from their primary firing mode and energy type: Phaser, Disruptor, Plasma, Polaron, Tetryon, or Antiproton.
| Primary firing mode | Weapon focus | Build requirement or behavior |
|---|---|---|
| Beam Overload | Beams | Concentrates on single-target damage |
| Fire at Will | Beams | Attacks multiple targets |
| Cannon Scatter Volley | Cannons | Provides multi-target fire and can attract substantial enemy attention |
| Reroute Reserves to Weapons | Beams and cannons | Requires Commander Pilot seating for Rank III |
| Surgical Strikes | Beams and cannons | Requires Commander Intel seating for Rank III |
| Exceed Rated Limits | Beams and cannons | Requires Commander Miracle Worker seating for Rank III |
Choose the firing mode before committing to a ship platform. The specialization modes depend on the appropriate Commander seat to run at Rank III. Build around one of those modes without adding another firing mode alongside it.
Other energy setups can use a secondary firing mode to activate a specific interaction. For example, a Beam Overload build can use Scatter Volley to trigger Preferential Targeting. Beam Overload still remains the main damage plan.
Apply the same discipline to weapons. A torpedo can fit into an energy loadout, but avoid spending dedicated consoles and traits supporting that single launcher. Keep those slots focused on your primary weapons.
Energy builds handle short, scattered engagements well because their damage is less dependent on projectile travel time or long ability cooldowns. Watch for Feedback Pulse, though: damage reflection is a particular vulnerability for energy weapons.
Official page: Star Trek Online (playstartrekonline.com)
Projectile Builds: Commit to Torpedoes or Mines
Projectile builds focus on weapon damage from torpedoes, mines, or a combination of both. They commonly use multiple firing modes, so their weapon selection does more to define them than one central ability.
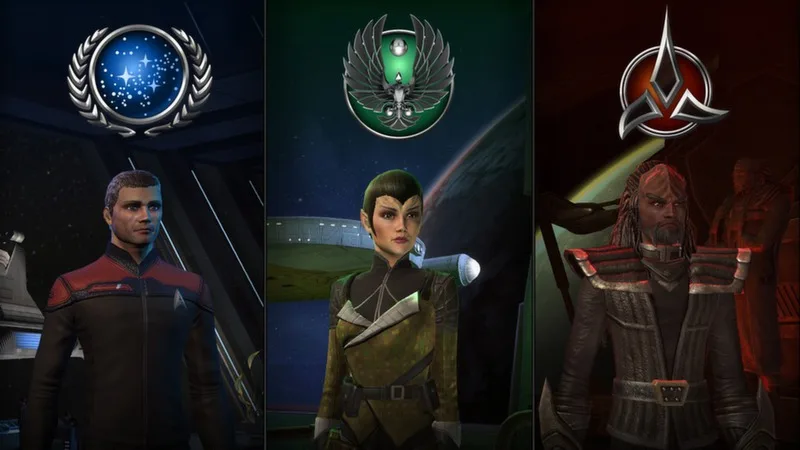 Image: Steam / Cryptic Studios
These builds have a high damage ceiling in Elite content when the right projectiles receive the right buffs. Most torpedo damage becomes much more effective after enemy shields fall.
Choose between two main directions:
- Torpedo-focused builds: Use torpedoes as the priority, with optional mines or energy weapons supporting the loadout. When choosing between competing bonuses, favor the torpedoes that carry the build.
- Mine-focused builds: Reverse that priority and build around mine damage. This is a more specialized approach, but it can work in Elite content.
Projectile travel time matters. Against numerous fast or fragile enemies, targets can disappear before torpedoes arrive. Avoid judging a projectile setup entirely by encounters where enemies die before its damage reaches them.
Keep weapon-focused torpedo builds separate from exotic builds that happen to carry torpedoes. The distinction affects your consoles, bridge officer seating, and damage bonuses. Ask which damage source your equipment actually supports before buying upgrades.
Exotic Builds: Build Around Science Damage
Exotic builds emphasize bridge officer abilities, damaging consoles, and secondary deflectors. Many of their damage sources scale with Exotic Particle Generators, usually shortened to EPG.
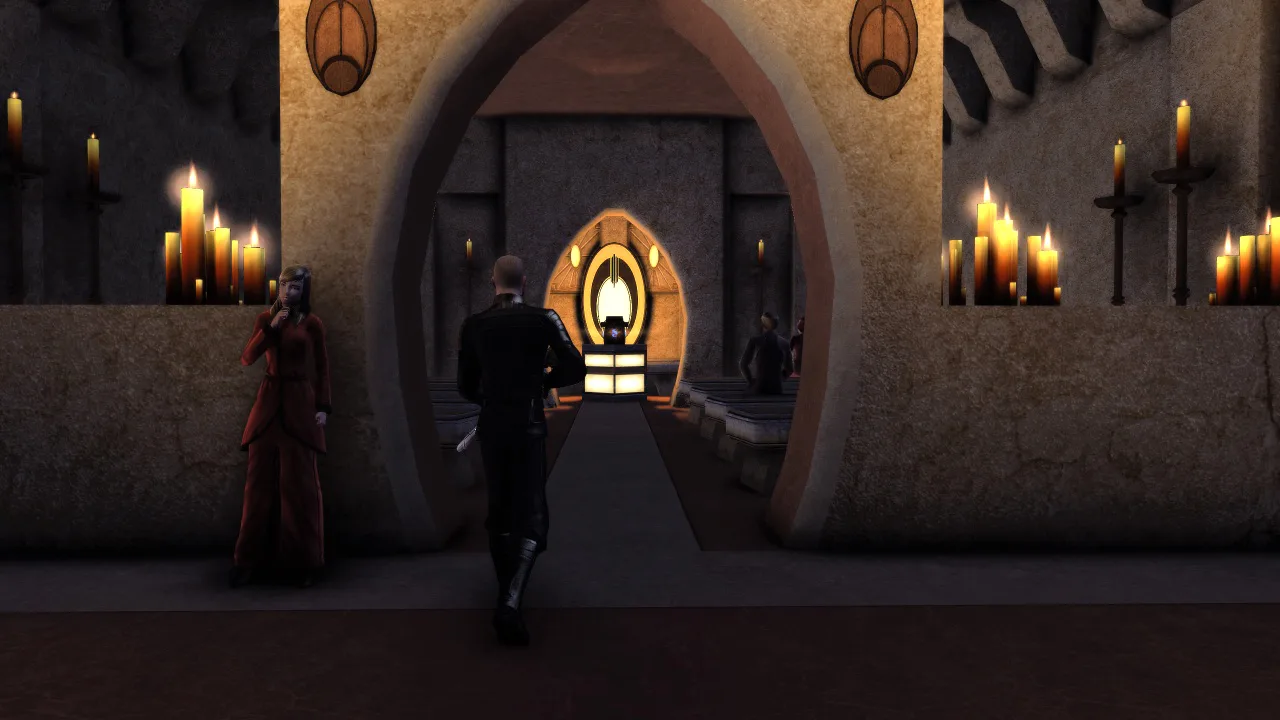 Image: Steam / Cryptic Studios
Choose a ship with a secondary deflector for this approach. Exotic setups can also work on ships without one, including carriers with two hangar bays and Commander Science seating, but losing the secondary deflector comes with a performance penalty.
The major exotic approaches overlap, and developed builds often combine several.
| Exotic approach | Core equipment or trait | Supporting abilities and tradeoffs |
|---|---|---|
| Secondary deflector | Deteriorating Secondary Deflector | Uses abilities such as Structural Analysis, Tyken's Rift, and Charged Particle Burst to apply its damage |
| Tactical | Entwined Tactical Matrices; potentially the Morphogenic Armaments three-piece set | Adds spreads from Gravimetric and Particle Emission Plasma torpedoes while consuming tactical ability slots |
| Console | Powerful console actives and Unconventional Systems | Uses Control abilities to reduce console cooldowns; requires substantial investment |
| Anomaly | Spore-Infused Anomalies | Makes lingering hazards deal additional area damage when science abilities activate |
Start With the Secondary Deflector
The secondary-deflector approach is the least expensive exotic foundation to acquire and assemble. Build around abilities that apply its damage to multiple enemies, then add other exotic damage sources as your equipment develops.
Invest in enough Control Expertise to gather enemies effectively. Concentrating targets lets persistent hazards and area damage work on the same group.
Exotic builds reward clustered encounters and repeated waves entering existing hazards. Frequent fights spread across a map are harder to handle because the build depends more heavily on cooldowns.
Match Traits to Your Available Ability Slots
Entwined Tactical Matrices requires room for firing modes. Those tactical abilities compete with slots that an anomaly build could use for additional science activations.
Unconventional Systems creates another demand: Control abilities such as Tractor Beam or Tractor Beam Repulsors alongside Gravity Well. Each ability needs to contribute to the console cooldown plan.
Spore-Infused Anomalies also does not benefit from the passive bonuses on certain prominent damage consoles, including Delphic Tear, Constriction Anchor, and Temporal Vortex Probe. Choose equipment for the damage sources it actually improves.
Diversify your exotic damage rather than making every slot serve a single console. Several substantial damage sources can share the workload while your control abilities keep targets together.
Tank Builds: Generate Threat and Survive It
A tank needs to accomplish two jobs: attract enemy attention and stay alive under that attention. Durability alone does not complete the role.
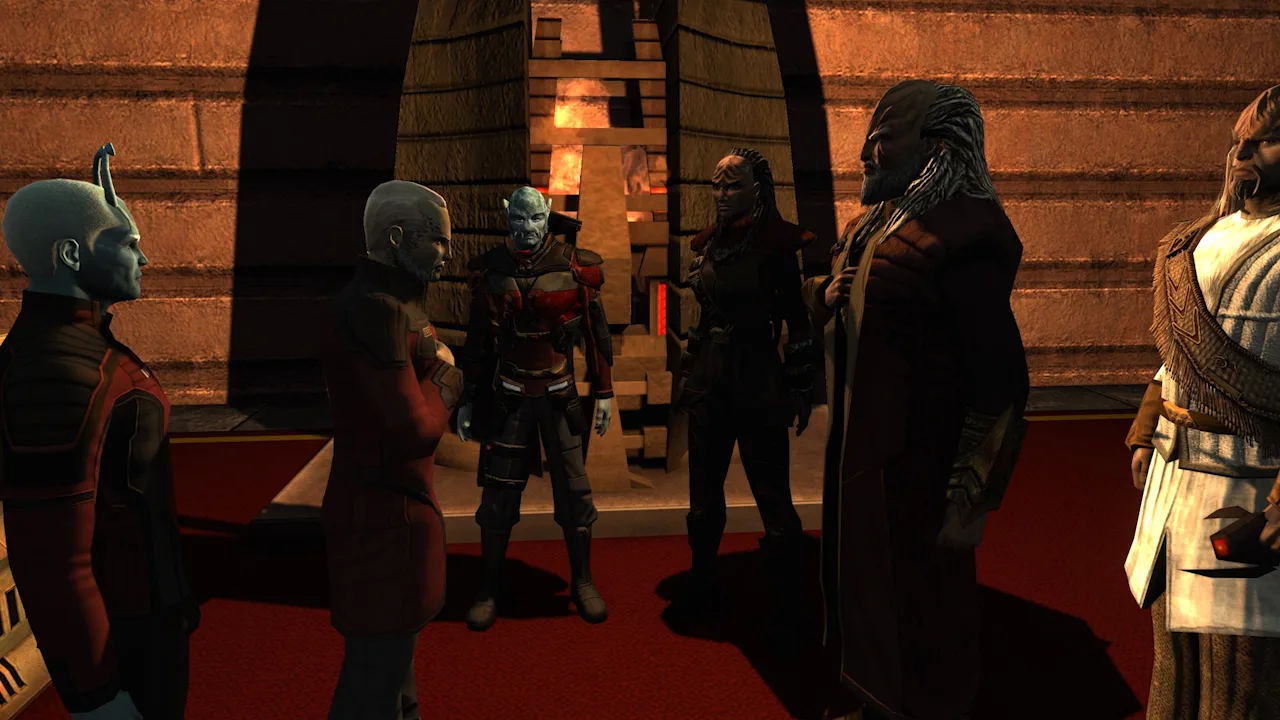 Image: Steam / Cryptic Studios
Heavy tanks combine threat management with meaningful personal damage. They suit Elite Task Force Operations where incoming damage is high and killing enemies remains part of the tank's contribution. Examples include Counterpoint, Battle of Korfez, Herald Sphere, and Tzenkethi Front.
Decide whether your tank should emphasize its own damage or help teammates deal more. Support tools can include:
- Consoles, traits, and bridge officer abilities that buff allies.
- Debuffs that make enemies easier to destroy.
- Control abilities such as Gravity Well.
- Buff removal or disabling effects.
Build for the encounters you intend to run. A damage setup designed for a coordinated group with a dedicated tank has different survival demands from one entering general Elite content.
Apply that lesson beyond tanking, too. Fire at Will, Cannon Scatter Volley, and exotic area damage can draw considerable attention. Reserve enough build space for survival when your attacks regularly engage multiple enemies.
Carrier Builds: Support the Pets and the Ship
Carrier builds allocate equipment and abilities toward hangar pets while retaining damage from the carrier itself. Their practical demands include replacing pets, healing them, or protecting them from incoming damage.
Before adding another pet-related component, identify its job:
- Does it support the pets' damage?
- Does it help replace or preserve them?
- What does the carrier give up to equip it?
A ship with hangar bays does not automatically need a pet-focused build. An exotic setup on a carrier can still prioritize science damage, while a dedicated carrier setup makes pet support a central consideration.
Choose that priority early. Otherwise, hangar support can consume slots that your weapons or exotic abilities need to function.
Hybrid Builds: Give Each Half a Clear Purpose
Hybrid builds combine damage systems with specific interactions. Torpedo-and-science setups are a useful example: the Courage, Janeway, and Trailblazer have supported configurations where projectile and exotic damage share substantial roles, using Command seating alongside secondary deflectors.
Choose which side takes priority when equipment bonuses compete. A torpedo-focused hybrid and an exotic-focused ship carrying torpedoes can look similar while needing different traits and consoles.
Use these questions when adapting a hybrid:
- Which damage source should receive the strongest bonuses?
- Does the ship provide the seating and equipment slots both systems require?
- Does each secondary weapon or ability enable a specific interaction?
- Is enough room left for survival in the intended content?
Highly specialized weapon-and-exotic combinations can demand expensive equipment and a particular encounter structure. Build the main system first, then add the second when you can identify exactly what it contributes.
Continue with
 Star Trek Online NX Escort Refit Stats And Builds GuideExplore Star Trek Online NX Escort Refit stats and builds, including hull values, console slots, Preferential Targeting, and focused weapon setup tips.
More in Builds
Star Trek Online Best Space Reputation Traits Guide
Choose Star Trek Online best space reputation traits for beams, cannons, and exotic builds. Compare crit bonuses, healing, unlocks, and active abilities.

Star Trek Online Science Build 2026: EPG Setup Guide
Create your Star Trek Online science build 2026 with Gravity Well, exotic torpedoes, budget gear, and key upgrades. Learn which skills and traits to slot.
Star Trek Online Space Trait for Engineer: Top Picks
Find the right Star Trek Online space trait for engineer builds, from free career options to premium cooldown and damage boosts for beam and cannon ships.
Continue exploring
Star Trek Online Beginners Guide 2026: Your First Steps
Star Trek Online beginners guide 2026: choose your faction, claim free ships, improve combat, and learn which currencies and systems deserve your time.

Star Trek Online Quests Guide: Find Your Next Mission
Use this Star Trek Online quests guide to find missions, follow episode arcs, travel with transwarp, replay gear rewards, and tackle TFOs and daily events.
Join the community
Official channels for news, updates and player help: