
Star Trek Online Best Space Reputation Traits Guide
Choose Star Trek Online best space reputation traits for beams, cannons, and exotic builds. Compare crit bonuses, healing, unlocks, and active abilities.
Jump to
Which Space Reputation Traits Should You Slot?
Your reputation slots can add damage and keep your ship alive without changing its weapons. If you're choosing Star Trek Online best space reputation traits, start with Advanced Targeting Systems, Precision, and Tyler's Duality for a general beam or cannon build. Add Magnified Firepower and Energy Refrequencer when you have five passive slots.
That combination covers critical severity, critical chance, bonus weapon damage, and hull healing. Exotic builds need a different balance because weapon damage bonuses don't cover every source of damage.
The numerical bonuses below are for Rank II, which becomes available when the corresponding reputation reaches Tier VI.
| Passive trait | Reputation and initial unlock | Benefit |
|---|---|---|
| Advanced Targeting Systems | Dyson, Tier II | +20% critical severity at Rank II |
| Precision | New Romulus, Tier II | +5% critical hit chance at Rank II |
| Tyler's Duality | Discovery Legends, Tier IV | Critical chance scales with maximum hull capacity, reaching up to 7.5% at 200,000 hull at Rank II |
| Magnified Firepower | Gamma Task Force, Tier IV | +6.3% bonus weapon damage at Rank II |
| Energy Refrequencer | Iconian Resistance, Tier II | Hull healing triggered through outgoing energy weapon attacks |
Advanced Targeting Systems and Precision
These two traits form a straightforward offensive pairing: Precision makes critical hits more frequent, while Advanced Targeting Systems increases their damage.
Use them together when building a general damage loadout. Their bonuses don't require you to maintain high auxiliary power or keep enemies affected by control abilities.
Tyler's Duality
Tyler's Duality adds another source of critical chance, but its strength depends on your ship's maximum hull capacity. The 7.5% figure is the upper end at Rank II, rather than a flat bonus every ship receives.
Inspect its value while you're in space. Space-dependent statistics can display differently on the ground, making a ground tooltip a poor basis for comparing this trait with Precision.
Magnified Firepower and Energy Refrequencer
Magnified Firepower supplies a simple weapon damage bonus. Slot it when you want an offensive trait without an auxiliary-power requirement or controlled-target condition.
Energy Refrequencer supplies healing while your energy weapons attack. Use it on beam and cannon builds that need help staying alive through ordinary combat. Its healing depends on your outgoing attacks, so don't expect it to replace every defensive ability.
Official page: Star Trek Online (playstartrekonline.com)
Four Slots, Five Slots, and Rank II Unlocks
You begin with four passive space reputation trait slots. An additional slot can be purchased at the Fleet Research Lab when your fleet has the appropriate unlock. Active space reputation traits have their own separate slots.
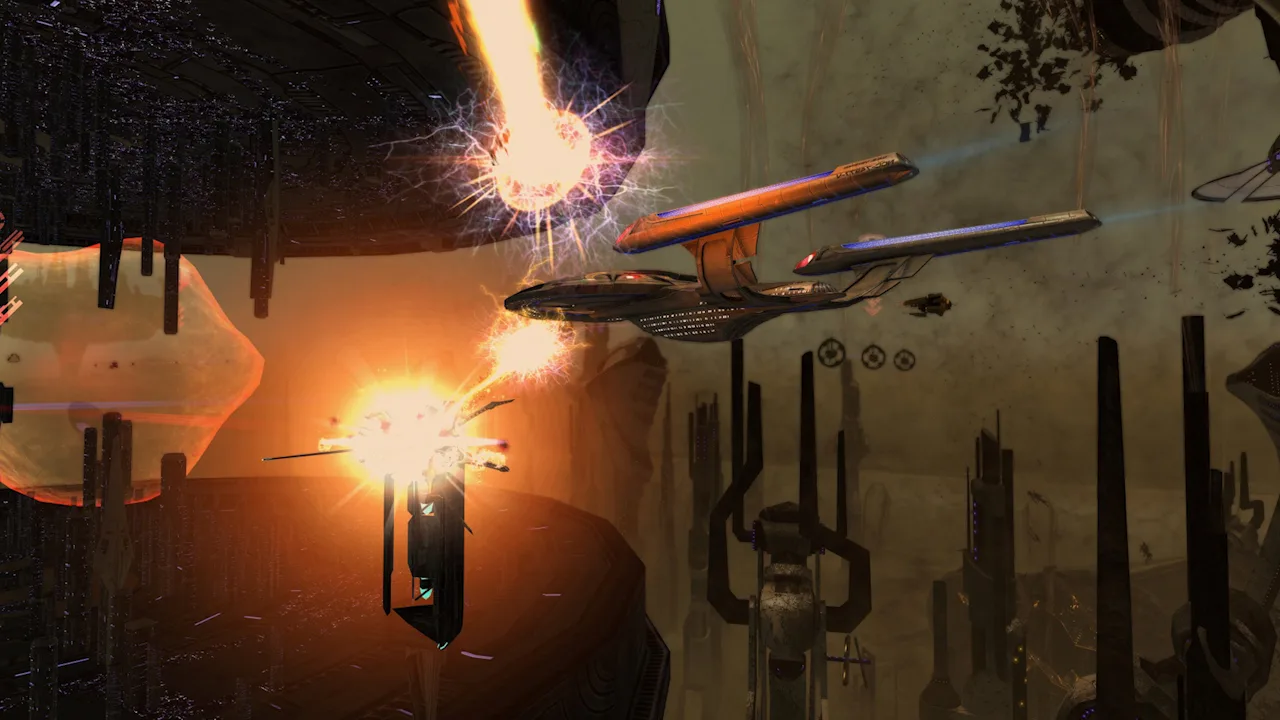 Image: Steam / Cryptic Studios
For a four-slot beam or cannon setup, equip:
- Advanced Targeting Systems
- Precision
- Tyler's Duality
- Magnified Firepower
Replace Magnified Firepower with Energy Refrequencer if hull survival is interrupting your fights. With the fifth passive slot unlocked, equip both.
Initial trait unlocks and upgraded ranks are separate milestones. For example, Precision first unlocks at New Romulus Tier II, while its Rank II version becomes available at Tier VI. Expect smaller bonuses while using Rank I.
Reputation traits can be reassigned in social hubs or sector space. Make your changes there before entering the next encounter.
Conditional Damage Traits Worth Swapping In
The general-purpose setup leaves room for specialization. Two alternatives reward particular power settings or target conditions.
 Image: Steam / Cryptic Studios
Auxiliary Power Configuration - Offense
This Nukara Strikeforce Tier IV trait provides bonus all damage and accuracy that scale with auxiliary power. Its all-damage bonus also covers non-weapon damage sources, giving it a different role from Magnified Firepower.
At Rank II, examples of its damage scaling include:
- 75 auxiliary power: 4.7% bonus all damage.
Slot it when your build maintains high auxiliary power, especially when non-weapon damage contributes substantially to your output. Compare the bonus at your normal combat power level; a brief auxiliary spike doesn't represent your sustained benefit.
Controlled Countermeasures
Controlled Countermeasures unlocks at Temporal Defense Tier IV and increases energy weapon and projectile damage against controlled targets. Gravity Well and Tractor Beam are examples of abilities that can create the relevant target condition.
Use it when your build or team consistently supplies control effects. Keep Magnified Firepower for a simpler weapon damage option when those effects aren't a dependable part of your fights.
Space Reputation Traits for Exotic Builds
Exotic damage builds shift the emphasis toward auxiliary power, exotic damage bonuses, and bridge officer ability uptime.
 Image: Steam / Cryptic Studios
A five-slot exotic setup can use:
| Trait | Role in the build |
|---|---|
| Advanced Targeting Systems | Increases critical severity |
| Precision | Adds critical chance |
| Auxiliary Power Configuration - Offense | Supplies bonus all damage that scales with auxiliary power |
| Particle Generator Amplifier | Increases exotic damage |
| Chrono Capacitor Array | Reduces bridge officer ability recharge time |
Particle Generator Amplifier directly supports exotic damage, while Auxiliary Power Configuration - Offense benefits from the high auxiliary power used by these builds.
Chrono Capacitor Array addresses ability recharge. Slot it when bridge officer cooldowns limit how often you can use your damaging science abilities. Evaluate it alongside the cooldown tools already installed on your ship.
Avoid carrying Magnified Firepower into an exotic loadout simply because it worked on your beam ship. Its bonus applies to weapons, while Particle Generator Amplifier supports the damage category you're building around.
Active Space Reputation Abilities and When to Use Them
Active reputation traits occupy separate slots and add clickable abilities to your tray. They have five-minute cooldowns, so activate them deliberately instead of placing them on a spam bar.
For a general five-slot active setup, use the following abilities. With four slots, select the combination that matches your damage and survival needs.
| Active ability | Reputation | Effect and practical use |
|---|---|---|
| Anti-Time Entanglement Singularity | Temporal Defense | Deals exotic damage and slows enemies, with a chance to hold them |
| Bio-Molecular Shield Generator | 8472 Counter-Command | Creates a stationary shield-support area with a 2.5 km radius |
| Deploy Sensor Interference Platform | Iconian Resistance | Draws enemy attention away from your ship |
| Quantum Singularity Manipulation | New Romulus | Temporarily boosts science statistics and briefly cloaks your ship |
| Refracting Tetryon Cascade | Nukara Strikeforce | Chains Tetryon damage between nearby enemies |
Time Science Buffs Before Your Damage Abilities
Activate Quantum Singularity Manipulation before major control or exotic abilities. Its science bonuses include +125 Control Expertise and +125 Exotic Particle Generator, making its timing especially relevant to science builds.
Use Anti-Time Entanglement Singularity and Refracting Tetryon Cascade against enemies grouped by an ability such as Gravity Well. The cluster gives their area and chaining effects useful targets.
Position Around Your Defensive Abilities
Bio-Molecular Shield Generator stays where you deploy it. Remain within its 2.5 km radius to benefit from its shield support, and place it where nearby allies can use it too.
Deploy Sensor Interference Platform serves a different purpose: redirecting enemy attention. Activate it when incoming pressure threatens your survival.
Handle Enemy-Repositioning Abilities Carefully
Tethered Non-Baryonic Asteroid can suit exotic, broadsiding, or mine builds, but it pulls affected enemies behind your ship. Avoid it on forward-facing weapon setups when that movement would take targets out of your firing arcs.
Forced Challenge pulls a single target within 0.5 km and faces it toward you. Reserve it for a deliberate repositioning play; the target can move away afterward, and the ability carries the same long cooldown commitment.
Continue with
 Star Trek Online NX Escort Refit Stats And Builds GuideExplore Star Trek Online NX Escort Refit stats and builds, including hull values, console slots, Preferential Targeting, and focused weapon setup tips.
More in Builds

Star Trek Online Science Build 2026: EPG Setup Guide
Create your Star Trek Online science build 2026 with Gravity Well, exotic torpedoes, budget gear, and key upgrades. Learn which skills and traits to slot.
Star Trek Online Space Trait for Engineer: Top Picks
Find the right Star Trek Online space trait for engineer builds, from free career options to premium cooldown and damage boosts for beam and cannon ships.
Continue exploring

Star Trek Online Beginners Guide 2026: Your First Steps
Star Trek Online beginners guide 2026: choose your faction, claim free ships, improve combat, and learn which currencies and systems deserve your time.
Star Trek Online Walkthrough: From Tutorial to Endgame
Use this Star Trek Online walkthrough to finish the tutorial, find story missions, equip your ship, train bridge officers, and begin endgame progression.
Join the community
Official channels for news, updates and player help: