
Star Trek Online Beyond the Nexus Mission Walkthrough
Complete Star Trek Online Beyond the Nexus mission with a step-by-step walkthrough covering ship battles, security puzzles, rewards, and both accolades.
Jump to
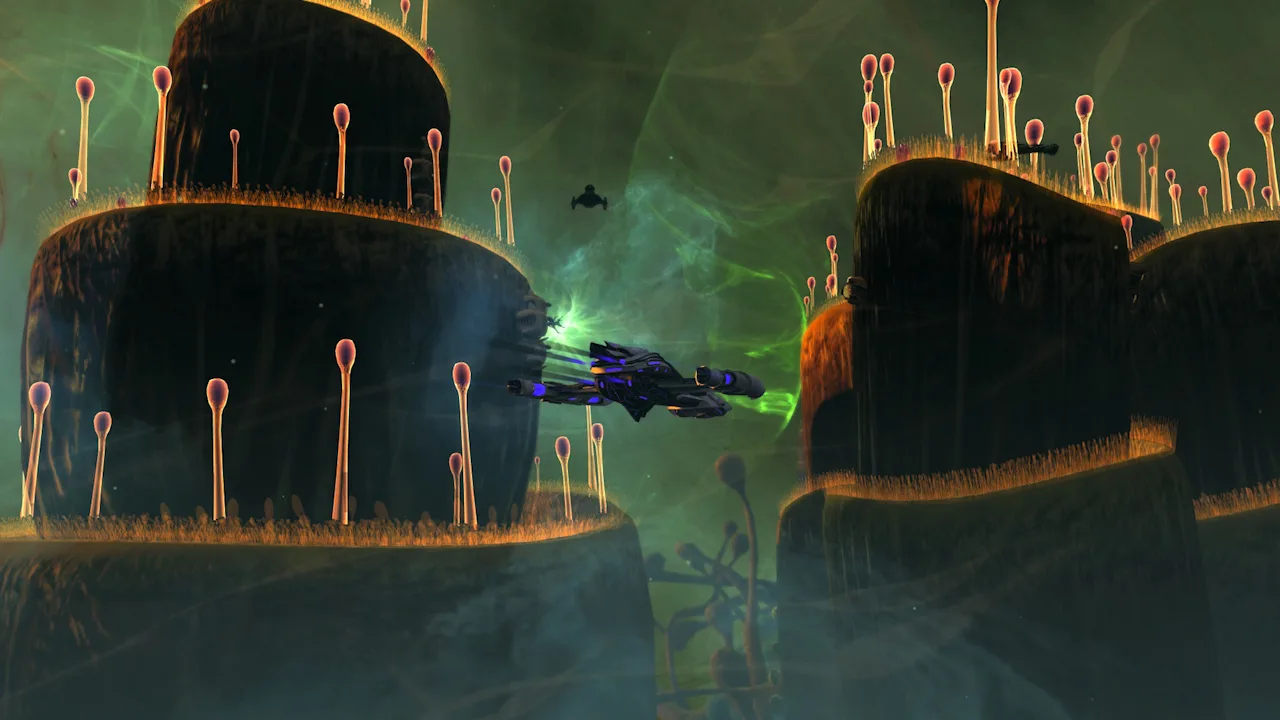
Rotanev System: Find and Disable the Madison
The Star Trek Online Beyond the Nexus mission sends you after a distress call from a starship lost in 2332. You'll join Captain Geordi La Forge to investigate two disabled vessels, then fight through a hijacked Galaxy-class cruiser. Before leaving its bridge, take a short detour to collect two exploration accolades worth 10 points each.
The trouble starts with the U.S.S. Forrestal, which was presumed lost in the Nexus. Starfleet dispatched the U.S.S. Madison to investigate, but that ship has stopped reporting in, too.
- Travel to the Rotanev system. Your rendezvous is with the U.S.S. Challenger, commanded by La Forge.
- Hail the Challenger, then approach the disabled ships.
- Hail the Madison. Its explanation of catastrophic damage doesn't match what La Forge knows about the ship's Nexus defense screens.
- Close to scanning range and scan the Madison. Continue the bridge officer dialogue after the scan.
- Disable the Madison when it turns hostile. The Challenger suffers a systems disruption, leaving you to handle the engagement.
- Beam aboard the Madison to meet La Forge on Deck 10.
The mission moves from space combat into an extended boarding sequence here, with the holodeck, Ten Forward, engineering, and bridge forming your route through the ship.
Official page: Star Trek Online (playstartrekonline.com)
The Holodeck: Bypass the Security System
Security fields block your progress aboard the Madison. La Forge identifies a nearby holodeck as an alternate access point because the first security console is offline.
 Image: Steam / Cryptic Studios
- Confer with La Forge at the boarding location.
- Head toward the holodecks. The damaged holodeck cannot help you; continue to the next one.
- Enter the functioning holodeck. A hostile program activates with its safety protocols disabled.
- Defeat the holographic Borg waves. Finish the encounter before attempting to bypass security.
- Use the holodeck console and complete the security-bypass minigame.
- Speak with La Forge once the security fields are down.
These holographic Borg do not adapt to energy weapon fire, so you don't need to change weapons to work around Borg adaptation during this encounter.
The security interaction uses a reskinned version of the Dilithium Mining minigame. Complete that interaction rather than searching the surrounding corridors for a separate access code.
Ten Forward: Defend the Survivors
Once security is disabled, a distress call directs you to Ten Forward. Commander T'Fai explains that a powerful psionic alien has taken control of crew members and used them to seize the Madison.
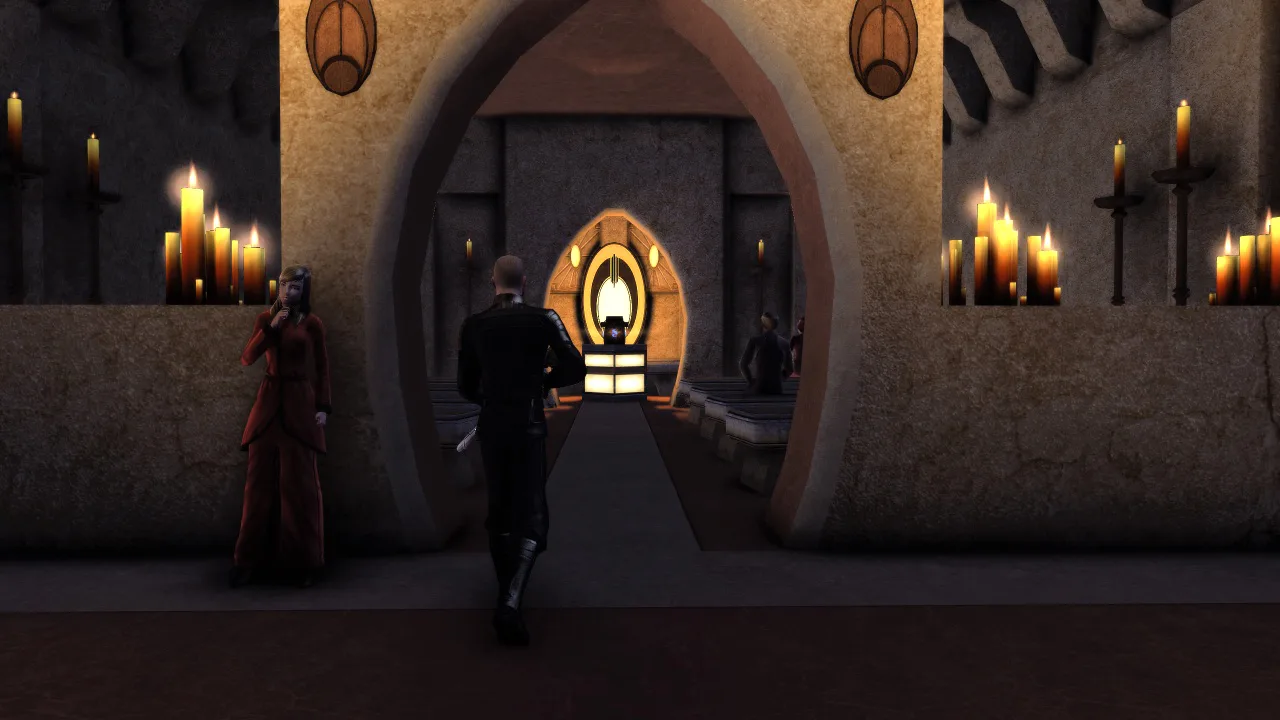 Image: Steam / Cryptic Studios
- Go to Ten Forward and speak with Commander T'Fai.
- Continue the conversation about the Forrestal and the alien controlling its crew.
- Defend Ten Forward when hostile crew members transport into the room.
- Speak with La Forge after the attack.
- Finish the remaining dialogue before heading to engineering.
The survivors explain that their psionic abilities have helped them resist the alien's control. T'Fai also provides psionic inhibitors during the conversation before your push toward engineering.
Optional conversations here include:
- The bartender, who discusses the survivors' resistance to the alien.
- The engineer, who describes the failed attempt to retake main engineering.
Speak with them before moving on if you want the extra story dialogue. Their conversations are separate from the two room-exploration accolades later in the mission.
Main Engineering: Restore Power and Radiation Protection
Engineering gives you a way to recover the ship's systems, but you must secure the area before working on its consoles. Expect hostile reinforcements as you enter.
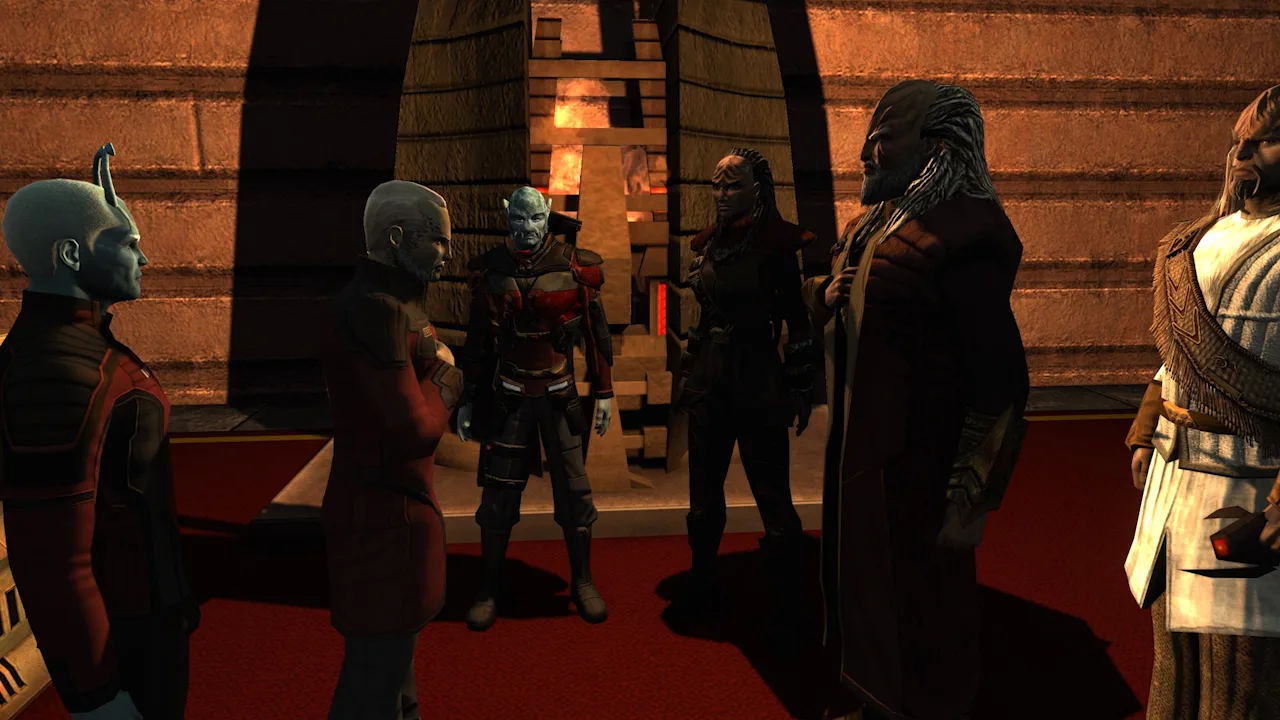 Image: Steam / Cryptic Studios
- Take the turbolift to engineering.
- Defeat the hostile crew and incoming reinforcements.
- Talk to La Forge. Main power is offline, and Nexus radiation is getting through the defense screens.
- Recalibrate the Nexus defense screens using the objective interactions.
- Speak with La Forge again after bringing radiation levels under control.
- Complete the Restore Warp Power interactions.
- Speak with La Forge, then proceed to the bridge.
Follow the engineering objectives in sequence: defense screens first, warp power afterward. Restoring power allows La Forge to reactivate much of the security system, but the bridge remains under enemy control.
The Bridge: Secure the Ship and Collect Both Accolades
The bridge confrontation brings you face-to-face with Khaj'Buur, the alien behind the takeover. Defeat the opposition to secure the Madison, but pause before using the return-to-ship interaction.
- Enter the bridge and defeat the hostile forces.
- Finish the post-combat conversation. Khaj'Buur retreats to the Forrestal.
- Explore the rooms connected to the bridge before transporting away.
- Return to your ship once you have collected both accolades.
There are two easy-to-miss exploration rewards:
| Accolade | Where to go | Points |
|---|---|---|
| A Lounging Observation | Enter the Observation Lounge, the conference room adjoining the bridge | 10 |
| Ready for Anything | Enter the Captain's Ready Room adjoining the bridge | 10 |
Visit both rooms after the bridge fight and before beaming off the Madison. Neither accolade requires another combat encounter.
If the return-to-ship interaction is hidden in your interface, check your low-priority interactions. The beam-out prompt can appear there.
Back in Space: Disable the Forrestal
With the Madison secured, the final confrontation takes place aboard your own starship. Khaj'Buur still controls the Forrestal and refuses to surrender its ship and crew.
- Return to space in the Rotanev system.
- Answer the Forrestal's hail and speak with Khaj'Buur.
- Disable the Forrestal. The Challenger is available to assist.
- Hail the Forrestal again after the battle.
- Continue the surrender dialogue, taking Khaj'Buur into custody alive.
- Speak with La Forge, then depart the system.
- Turn in the mission to claim your reward.
The final conversation resolves the immediate threat and leaves La Forge helping the damaged ships and their crews.
Rewards, Trilithium Set Bonuses, and Replay
Beyond the Nexus is repeatable through Mission Replay, allowing you to return for another reward selection. Replay completion rewards can be reduced.
The mission's reward choices include:
- Console – Engineering – Reinforced Armaments Mk XII, a starship engineering console associated with the Trilithium-Laced Weaponry set.
- High Density Beam Rifle Type 3 (24c.) Mk XII, a ground phaser weapon.
Choose Reinforced Armaments when collecting the Trilithium-Laced Weaponry set. Its associated weapons include the Trilithium Tricobalt Torpedo Launcher and the Trilithium-Enhanced phaser beam array or turret.
The set bonuses provide distinct benefits:
- Speed Tweaks, two pieces: grants energy-weapon firing cycle haste and increased flight speed.
- Reinforced Engineering, three pieces: increases Starship Structural Integrity and adds All Damage Resistance Rating.
The episode launched on September 12, 2017, during Season 13.5 as part of the celebration of Star Trek: The Next Generation's 30th anniversary. Its original promotion introduced rewards across successive weeks and included an account-wide weekly reward box offering an Enhanced Universal Tech Upgrade or a Specialization Point reward.
Those weekly boxes belonged to the 2017 featured-episode event. Use Mission Replay for the episode's equipment rewards rather than following the old weekly release schedule.
Continue with
 Star Trek Online Endeavor Harvest Materials Space: GuideStar Trek Online endeavor harvest materials space guide: find patrol nodes, plan a six-node route, and collect materials while avoiding unnecessary combat.
More in Quests
See all Quests
Continue exploring
Join the community
Official channels for news, updates and player help: